 |
|
|
|
|
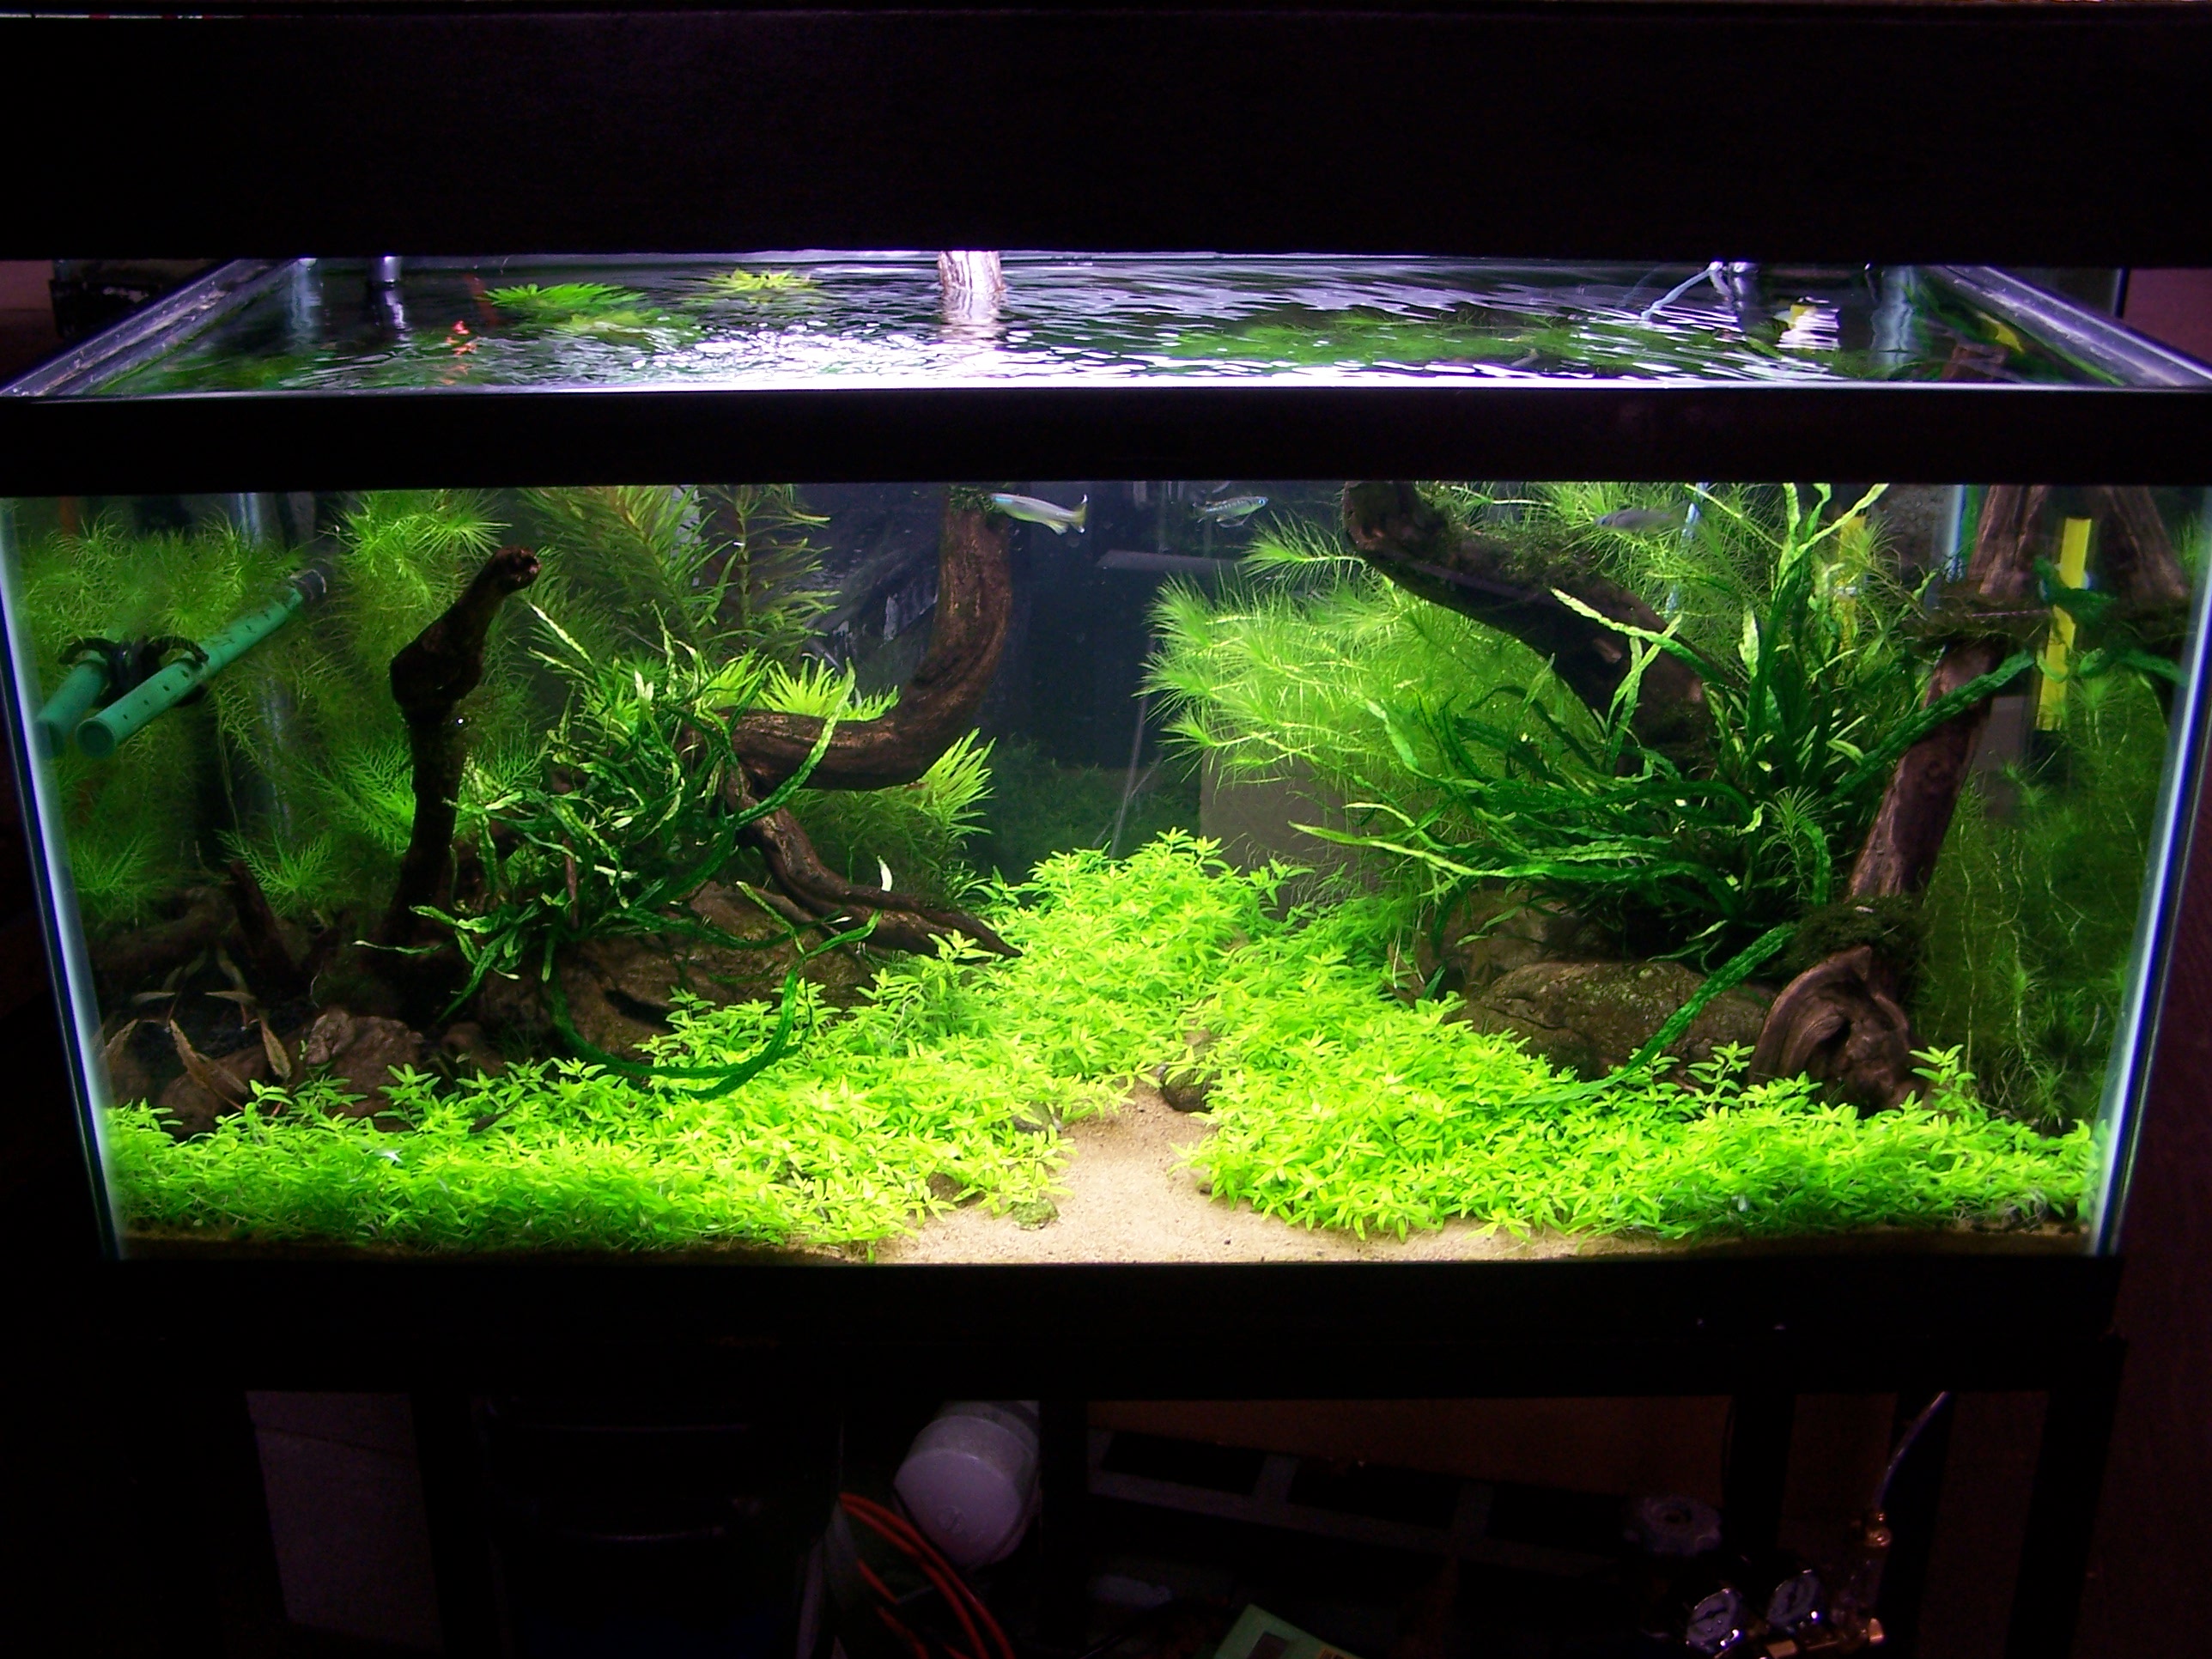
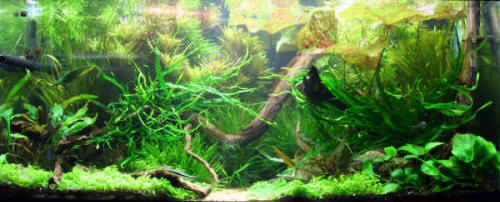
By Timothy S. Gross I started to contemplate a beautiful planted show tank after reviewing the stunning aquascapes at the last AGA (Aquatic Gardeners Association) convention. After talking to some local plant buddies, I decided that instead of setting it up at home, I would set it up at my workplace, All Oddball Aquatics. I did this in order to spark interest and recruit new people into the "green side"! Unlike the average freshwater aquarium, an aquascape is like a Bonsai and takes much more time, planning, and research. The finished product is well worth the efforts. In the next several paragraphs I will discuss how I made this tank happen.
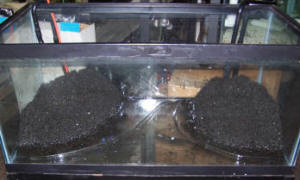
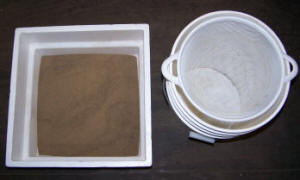
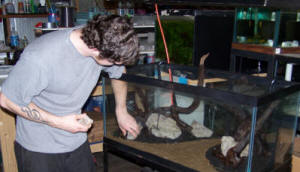
I then went on the hunt for good hardscape. This was the most difficult part for me. Good rock and wood is hard to come by, so I went for a hike by my favorite river and let nature take it from there. I found some beautiful pieces of hardscape that I thought might work in my scheme and bro I first started by studying the many great aquascapes in the ADA (Aqua Design Amano) Aqua Journals. I noticed the plants that were being used, how they were arranged, how the hardscape (rock, wood, etc.) was implemented, and what type of background if any was used. I made a list of the plants I wanted to use and equipment I would need. Next, I drew a few sketches of how I wanted it to appear. I decided to use both rock and wood because they have their own unique characteristics. I also decided to have a pathway or tunnel in the center. I feel if done properly, it will give the aquarium great depth. ught them home to be properly cleaned and saturated in water if necessary. My next step was to put Eco-Complete (an excellent, commerically-available substrate material) and the hardscape into the tank, arrange it in different ways, and take pictures for further review. After several different placements of the rock and wood, I decided on the design that I am currently using. The pure black of the Eco-Complete did not work for me. However, I wanted to use it for my growing medium because it has generated excellent results in the past. After some arm twisting from my plant pals, I decided to trek back down to the river and grab some of the sand that they were using. I would work the sand and the Eco-Complete into the aquascape by making two acrylic dividers. These would help display the natural look of the sand while also allowing for the excellent advantages of the Eco-Complete. Making the acrylic dividers was simple. I first cut two 24”x 2” pieces of cardboard and placed them into the empty tank. I bent and shortened them as needed, put them into place, and took pictures from multiple angles. I then measured the length of the cardboard and cut two pieces of acrylic to match those lengths. The acrylic measured 1 inch in height. I then proceeded to draw the inside dimensions of the 40 breeder on a flat surface. I now used the pictures that I had taken to reform the cardboard in the confines of the 40 breeder sketching. I fired up a propane torch and bent the acrylic to match the curves of the cardboard. I now had the walls which would help keep the Eco-Complete from getting into the sand.
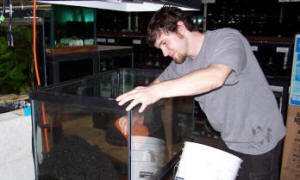
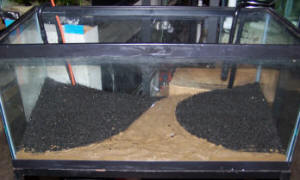
My next step was to put the Eco-Complete back into the aquarium. As I poured it in, I kept the Eco-Complete towards the back corners of the aquarium making sure to keep the bottom smooth and free of gravel. I installed the dividers and gently pushed the Eco-Complete against the walls. I now added the sand between the two dividers. It looked good and worked flawlessly.
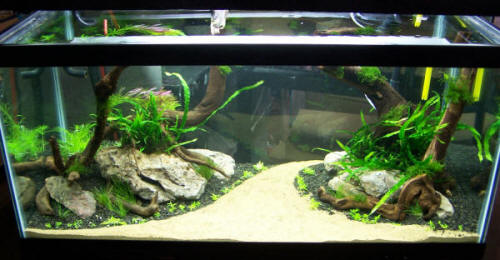
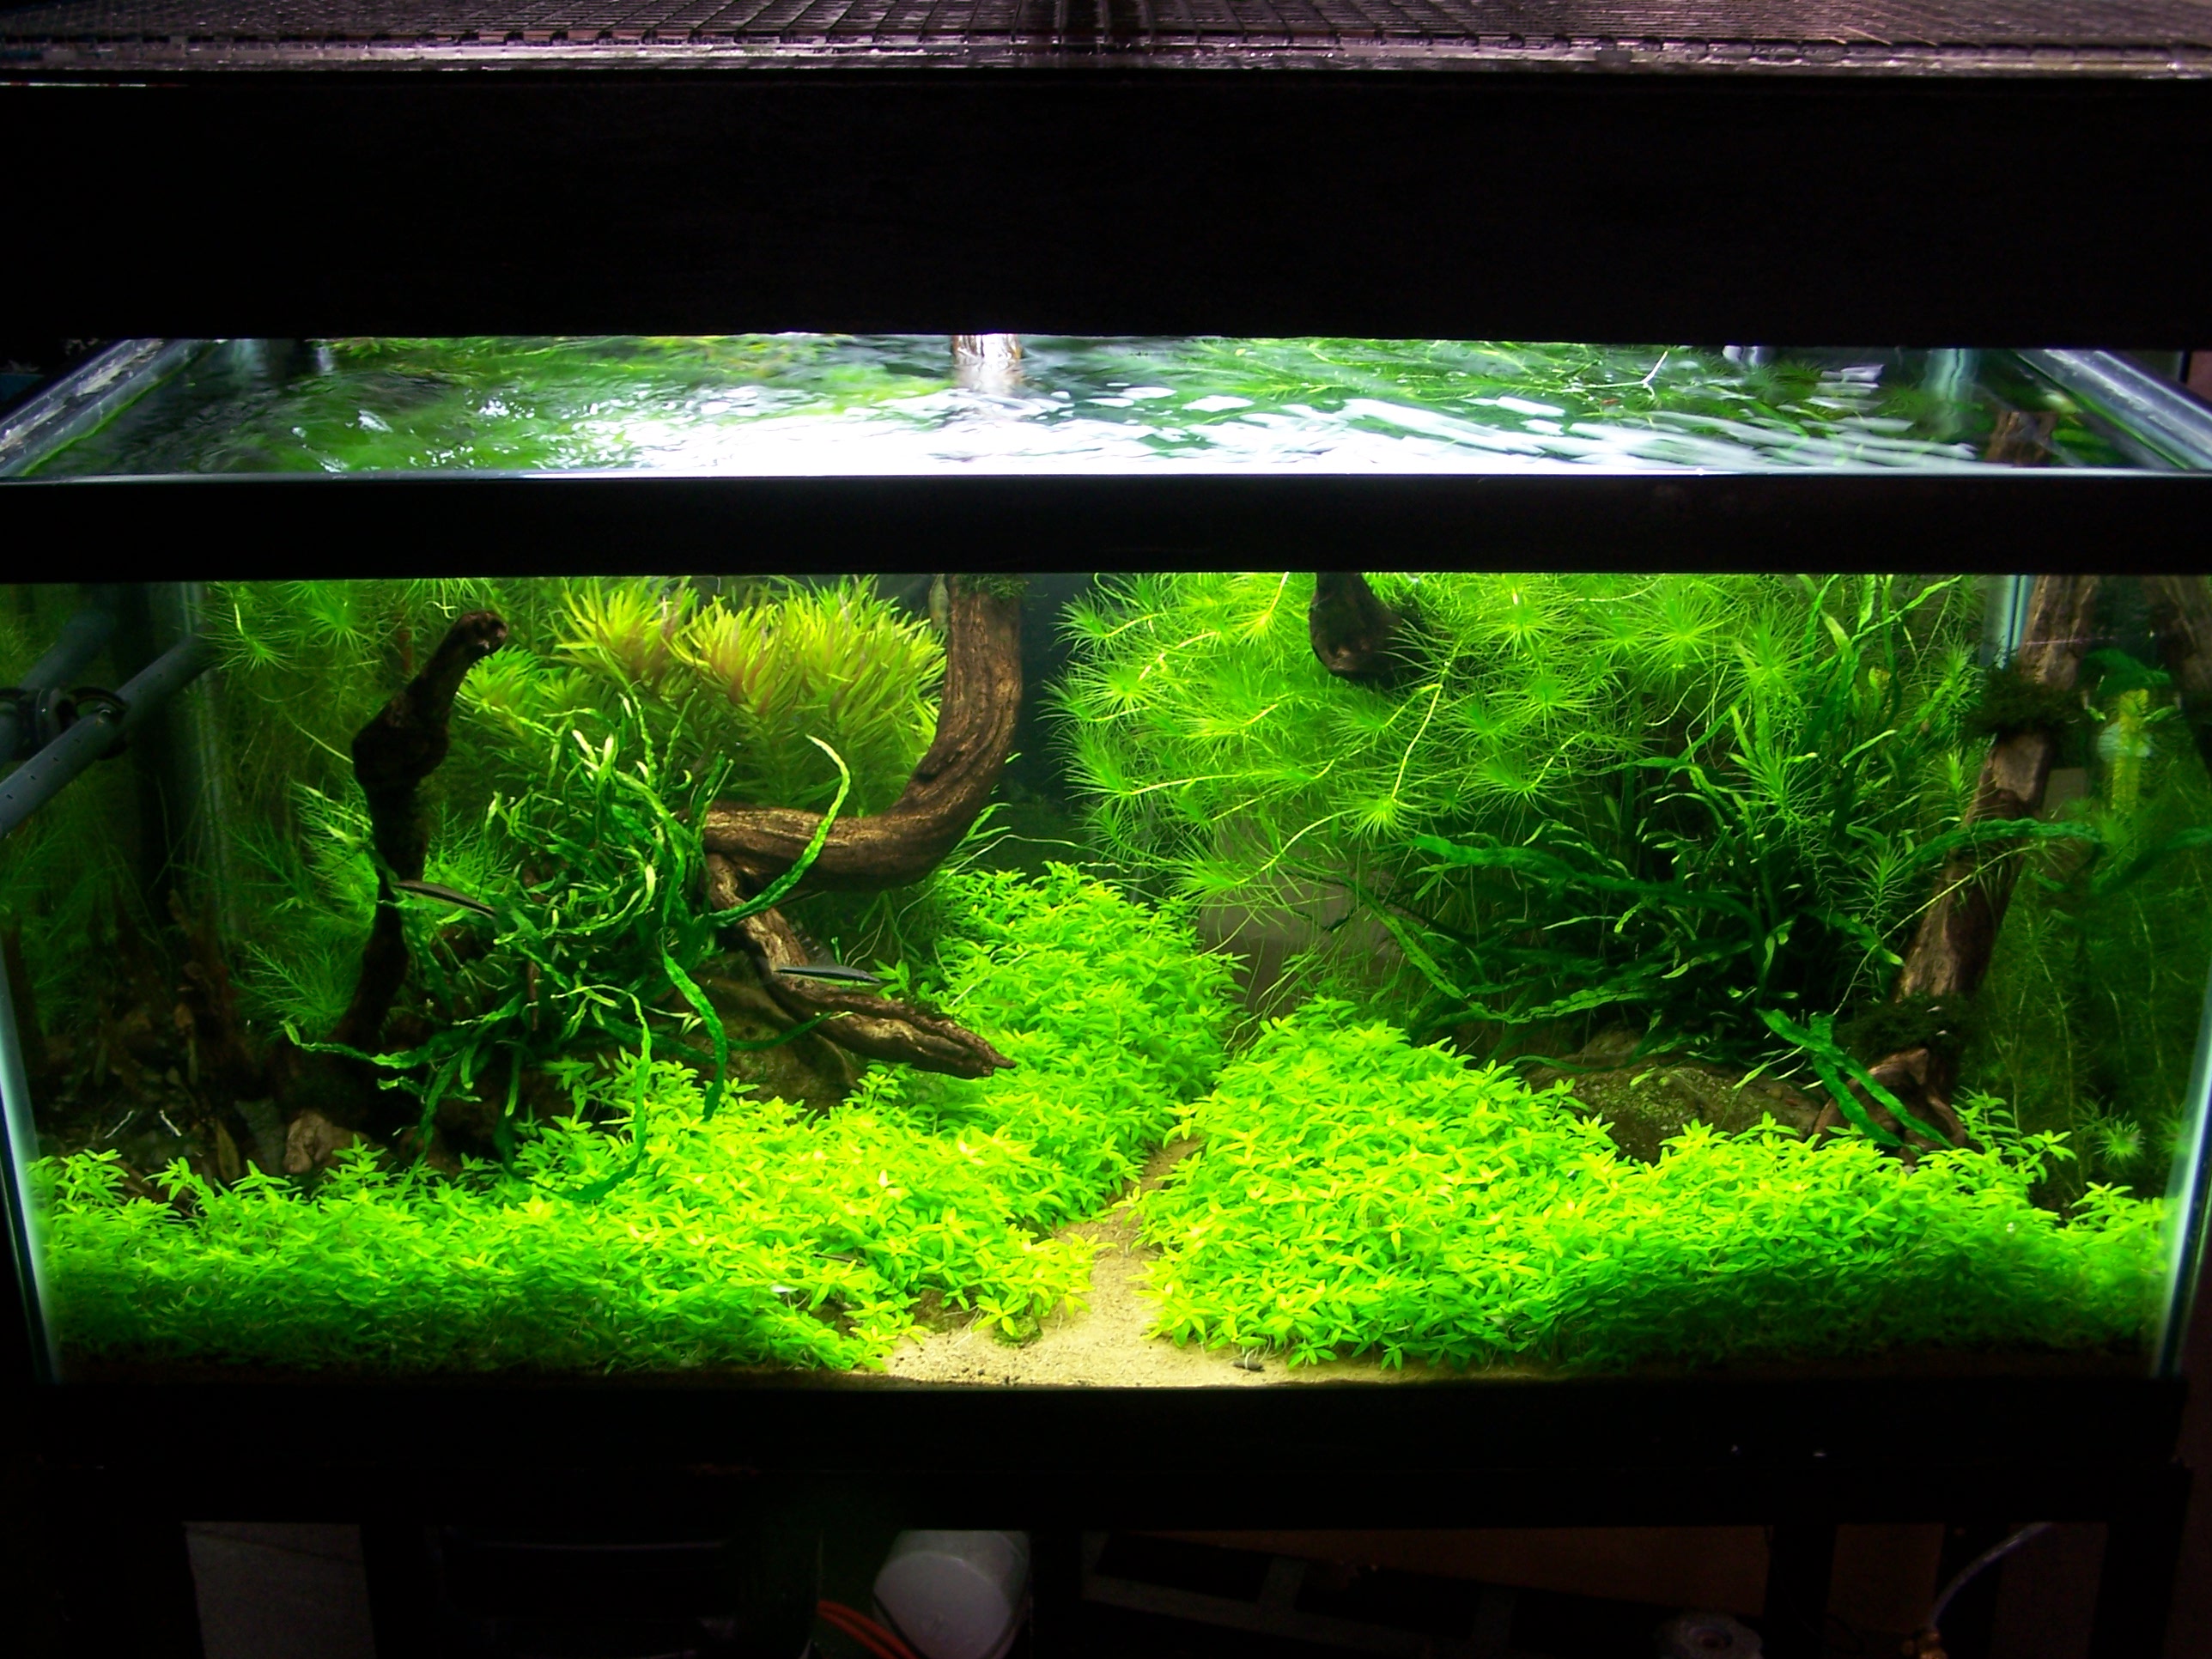
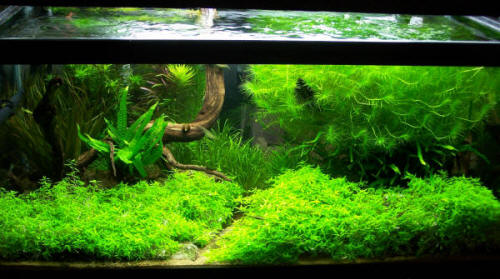
Now that the substrate was in place it was time for the hardscape. I printed out the pictures I took previously of the hardscape to use as a reference. I knew that once I started putting the rock and wood into the tank that it would not look the same. I just needed it to be similar. While adding the hardscape, I was careful not to get the Eco-Complete into the sand. Once finished, ¼ of the tank was filled with water. The rocks are in, the wood is in, and the substrate still looks good and intact. Now it is time for the plants. Many authors have stated that one should add as many plants as possible during the initial set up, so that algae cannot get a foothold. I feel that adding only a few plants can also have its advantages. First, I want the plants that I choose for the aquascape to not have to compete with plants that will not be used in the final scheme. Second, I would like the satisfaction of watching them all grow in. Third, I feel that I am skillful enough that I can grow these plants without a big risk of an algae bloom along with the aid of some excellent algae eaters. I decided to add three shoots of Limnophila aromatica, about twenty small dime size pieces of Elatine triandra, two large clumps of Narrow Leaf Java Fern (Microsorum pteropus ‘Narrow’), six clumps of Eleocharis parvula, one strand of Hygrophila balsamica, and nine small clumps of Taiwan Moss (Taxiphyllum alternans). After the plants were added, the tank was filled and the filter, lights and CO2 were turned on. After four days nutrients and a select few of the algae eating crew were added. I chose to wait on the addition of any fish so that the Elatine triandra could get a grip into the Eco-Complete without being disturbed. I added one species roughly every four days. Currently, the algae eating crew consists of four Siamese Algae Eaters (Crossocheilus siamensis), six Otocinclus affinis, one Zebra Otocinclus (Otocinclus cocama), ten Algae Shrimp (Caridina japonica), fifty plus Cherry Shrimp (Neocaridina denticulata sinensis), and twenty Neritina natalensis. For my show fish, I originally chose eight Pseudomugil signifer “Ross River” which were taken out and replaced with Danio choprae and for the bottom I chose seven Aspidoras sp. "Black Phantom" (C 35). I chose these fish for their rarity and beauty.
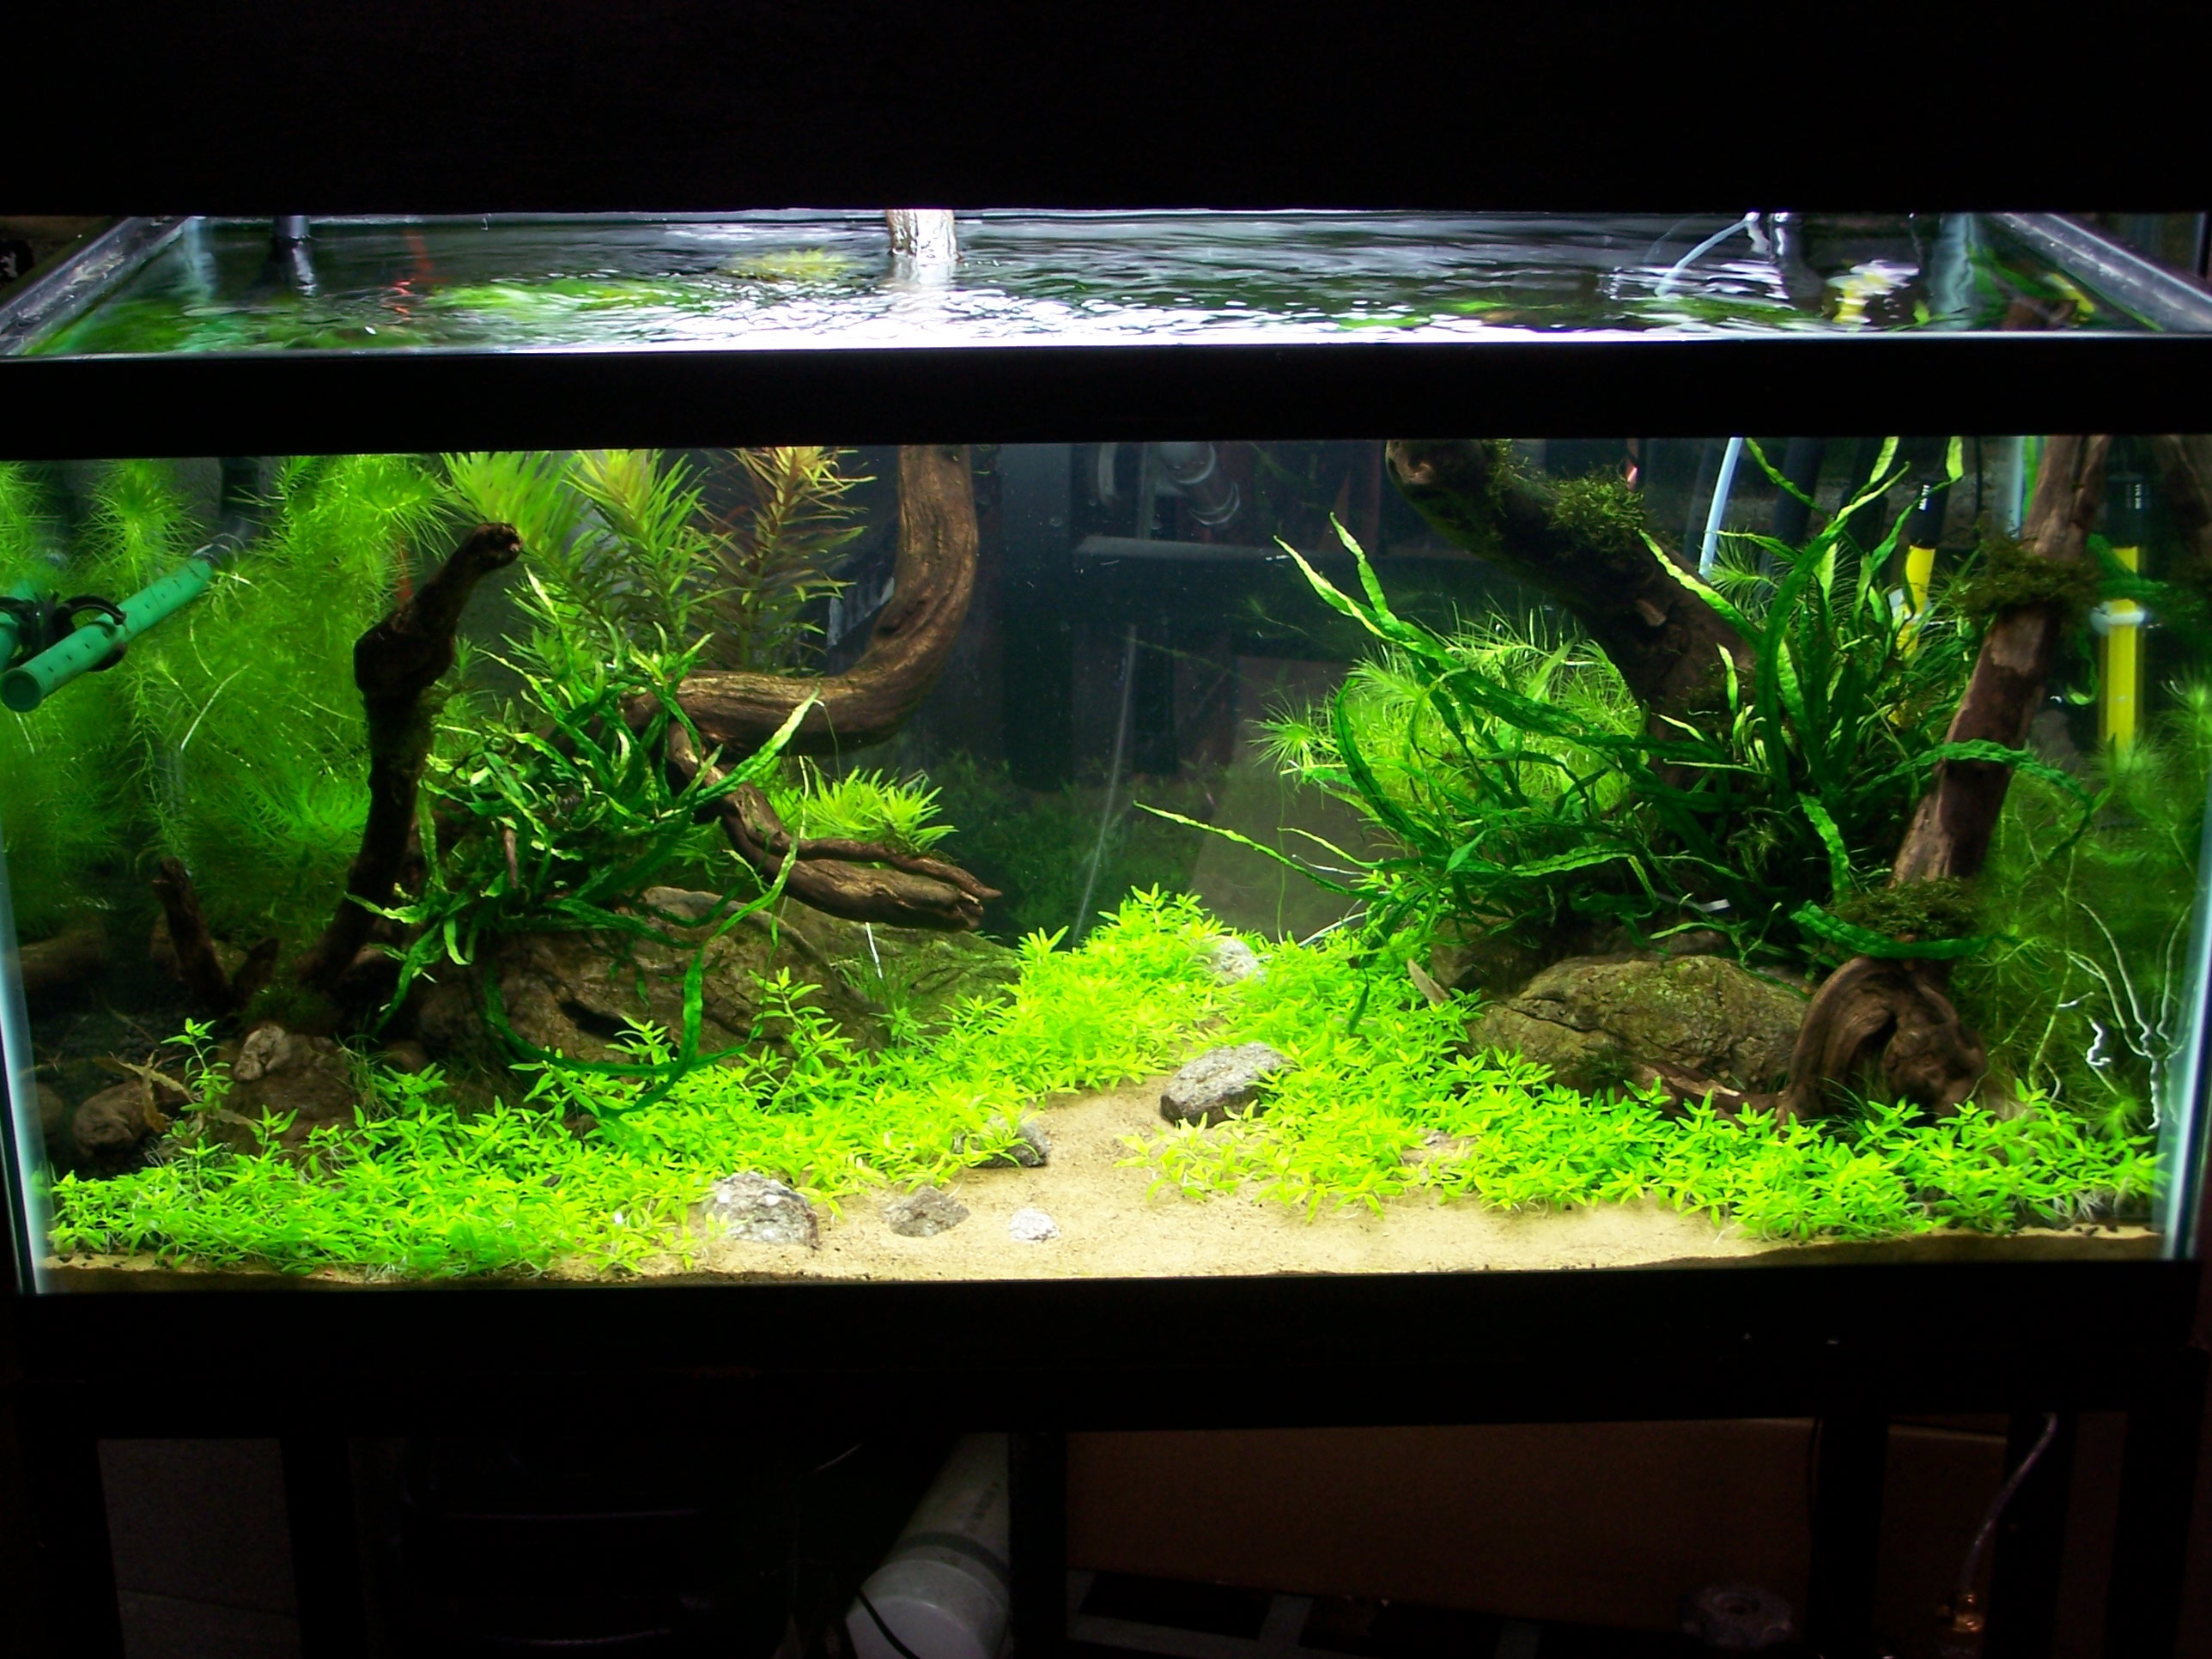
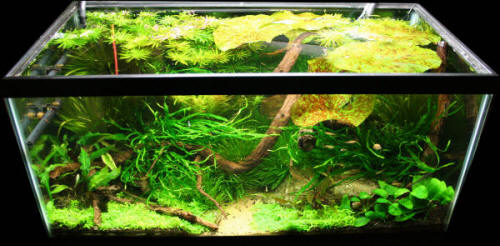
Since setup, I have added Anubias barteri var. nana, Blyxa japonica, Blyxa aubertii, Cryptocoryne affinis, Cryptocoryne beckettii (syn. C. petchii), Lagarosiphon madagascariensis, Ludwigia inclinata var. verticillata ‘Cuba’, Microsorum pteropus ‘Philippine’, and Nymphaea micrantha. I have taken out Hygrophila balsamica, Lagarosiphon madagascariensis, Microsorum pteropus ‘Philippine’, and Taxiphyllum alternans ‘Taiwan Moss’. This is still a project in the making, and I will probably add and remove some more plants, since I easily get bored with many species. I must constantly remind myself that this is a show tank, and to stop being a “plant collector” and think more like an aquascaper. To my surprise, I encountered little difficulty during this process. I dealt with diatoms and green spot algae for the first month, but with daily tank maintenance they soon vanished. I also had problems with the Elatine growing over itself so rapidly that the old growth was smothered and the rest of the plant would float to the surface. This was solved with the aid of some fishing line and plant weights.
Setting Up A South American Plant Tank - 5/5/2006
|
|
||||||||||||||||||||||||||||||||||||||||||||||||||||||
|


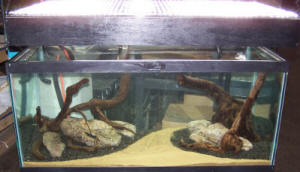
 Pieces of hardscape ready for use.